
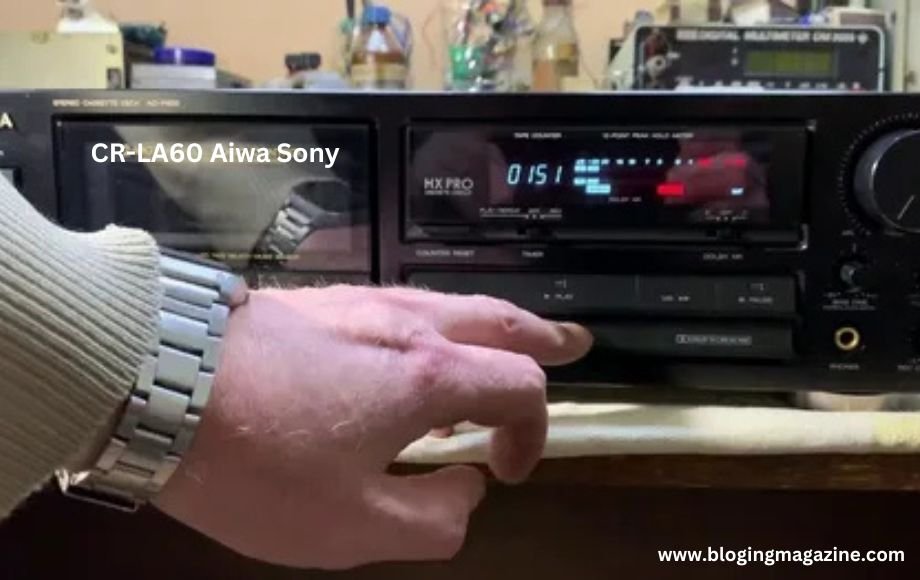
The ‘Diagrama de CR-LA60 Aiwa Sony’ is a detailed schematic diagram of the CR-LA60 model cassette recorder. This diagram plays a critical role in diagnosing and repairing the internal components of the device. Whether you are a professional technician or an electronics enthusiast, understanding this schematic allows for precise troubleshooting and ensures the proper functioning of the cassette recorder. By breaking down the diagram step by step, you can systematically identify problems and make the necessary repairs.
Understanding the Key Components of the Diagram
Symbols Used in the Diagram
The schematic is filled with various symbols representing electronic components such as resistors, capacitors, transistors, and diodes. Resistors are depicted as zigzag lines, while capacitors appear as either two parallel lines or one curved and one straight line. Diodes are shown as arrows pointing toward a bar, indicating the direction of current flow. It is crucial to recognize these symbols because they are the building blocks of the entire diagram. Misinterpreting even one symbol can lead to errors in repair work.
Electrical Paths and Connections
The electrical paths in the diagram represent how current flows through the device. Solid lines indicate direct electrical connections between components, while dotted or dashed lines may represent signal paths or secondary connections. Some parts of the circuit, like ground connections, are universal and provide a return path for the current. By understanding these paths, you can determine how power is distributed and where potential faults may occur, such as breaks in the circuit or incorrect voltage levels.
Tools for Interpreting the Diagram
Essential Tools for Repair Work
Before diving into the schematic, ensure you have the necessary tools. A multimeter is indispensable for measuring voltage, resistance, and continuity. A soldering iron helps in removing and replacing faulty components, while a magnifying glass is useful for inspecting tiny details on the circuit board. Additionally, having a fine-tip marker and notepad can help you annotate and mark problem areas on the printed schematic for easier reference.
Digital Tools for Enhanced Understanding
In the modern age, digital tools make analyzing schematics even more accessible. Software like Eagle, KiCad, or Proteus allows you to view digital versions of the ‘Diagrama de CR-LA60.’ These tools often come with zoom and layer options, which are helpful for focusing on specific parts of the circuit. They can also simulate the circuit’s operation, making it easier to predict potential issues without physically testing the device.
The NM100 Net RX from Tutankamon Electronics also becoming popular day by day in the world of electronics.
Step-by-Step Guide to Reading the Diagram
Familiarizing Yourself with the Legend
The legend is the roadmap to the schematic. It explains the symbols, abbreviations, and markings used throughout the diagram. You’ll usually find it at the bottom or on the side of the schematic. For example, a small triangle might represent a ground, while a circle with an arrow could indicate a variable resistor. Taking the time to study the legend ensures you can identify components accurately and avoid confusion as you trace the circuit.
Locating Power Sources
Start by identifying the power source section of the diagram. This is typically labeled as either AC or DC input. In the CR-LA60, the power source connects to a transformer, which steps down the voltage to a level suitable for the internal circuits. This section also includes components like rectifiers and voltage regulators, which convert AC to DC and maintain a steady voltage level. Ensuring the power section is functioning correctly is essential for the overall operation of the device.
Tracing Signal Paths
Signal paths in the CR-LA60 start at the input, such as the audio jack, and move through amplifiers, equalizers, and other processing sections before reaching the speakers. By following these paths, you can identify where a signal may be getting lost or distorted. For example, if the output sound is weak, tracing the signal path can help you pinpoint a faulty amplifier or a disconnected wire.
Common Mistakes and How to Avoid Them
Misinterpreting Symbols
One of the most common mistakes when reading schematics is confusing similar-looking symbols. For instance, the symbol for a diode can be mistaken for that of a Zener diode if not carefully observed. This error can lead to incorrect replacements during repair. To avoid this, always double-check the legend and cross-reference symbols with their actual components on the circuit board.
Skipping Hidden Connections
Schematic diagrams often contain hidden connections or jumpers that may not be immediately visible. These connections are critical for completing the circuit. Missing them can result in incomplete repairs or even damage to other components. To avoid this, carefully inspect the diagram and look for notes or references indicating hidden connections.
Practical Tips for Repairing the CR-LA60 Using the Diagram
Testing Components with a Multimeter
After identifying the faulty section of the circuit, use a multimeter to test the components. For example, you can measure the resistance of a resistor, the voltage across a capacitor, or the continuity of a wire. If the measured values differ from the expected ones, the component is likely defective and should be replaced.
Replacing Faulty Parts
When replacing a faulty part, ensure you desolder it carefully to avoid damaging the surrounding traces. Clean the area with isopropyl alcohol before soldering the new component. Always use components with the same specifications to maintain the circuit’s integrity.
Reassembling and Testing
Once the repairs are complete, reassemble the device and test it using a cassette tape. Refer back to the schematic to ensure all connections are properly restored. If the device functions as expected, you’ve successfully used the diagram to troubleshoot and repair the CR-LA60.
Conclusion
Reading and interpreting the ‘Diagrama de CR-LA60 Aiwa Sony’ is a crucial skill for repairing and maintaining this cassette recorder. By understanding the symbols, paths, and connections, you can diagnose problems accurately and carry out effective repairs. Using the right tools and following a systematic approach ensures that your work is precise and reliable. Whether you’re a beginner or an experienced technician, mastering this process will make troubleshooting easier and more efficient.
You may also explore about, Fintech SEO Rankstar.
FAQ’s
- What is the purpose of the ‘Diagrama de CR-LA60 Aiwa Sony’?
The diagram helps understand the cassette recorder’s internal workings and assists in troubleshooting and repair. - Can I repair the CR-LA60 without using the diagram?
While possible, it is much harder to diagnose issues and perform accurate repairs without the schematic. - What tools do I need to interpret and use the schematic?
Essential tools include a multimeter, soldering iron, magnifying glass, and digital schematic viewer software. - How can I avoid errors when reading the diagram?
Always refer to the legend, double-check connections, and take your time to understand the symbols and layout. - Are there online resources for learning to read schematics?
Yes, tutorials, videos, and guides are available online to help you improve your schematic-reading skills.


Промокоды — это уникальные комбинации символов, дающие скидку при оформлении заказа.
Эти купоны применяются в онлайн-магазинах для получения бонусов.
https://friends.win/read-blog/12015
На этом сайте вы сможете получить актуальные промокоды разных брендов.
Используйте их, чтобы экономить на покупки.
На данном сайте вы можете заказать аудиторию и лайки для Telegram. Здесь доступны качественные аккаунты, которые помогут развитию вашего канала. Быстрая доставка и стабильный прирост обеспечат успешное продвижение. Тарифы доступные, а оформление заказа прост. Начните продвижение уже сейчас и нарастите активность в своем Telegram!
Накрутить подписчиков в Телеграмм канал бесплатно ботов
Медицинский центр предлагает широкий спектр медицинских услуг для каждого пациента.
Команда профессионалов работают по международным стандартам и используют современное оборудование.
Мы обеспечиваем все удобства для прохождения обследований.
В нашем центре доступны персонализированные медицинские решения для людей с различными потребностями.
Приоритетом для нас является здоровью наших пациентов.
Все клиенты могут получить качественное лечение по доступным ценам.
wiki.alianzy-businesspartnership.com
The digital drugstore features a wide range of medications at affordable prices.
Shoppers will encounter both prescription and over-the-counter medicines for all health requirements.
Our goal is to keep trusted brands without breaking the bank.
Speedy and secure shipping guarantees that your medication gets to you quickly.
Experience the convenience of shopping online on our platform.
https://insta.tel/read-blog/92688_the-apothecary-s-dilemma-a-tale-of-choices-and-consequences.html