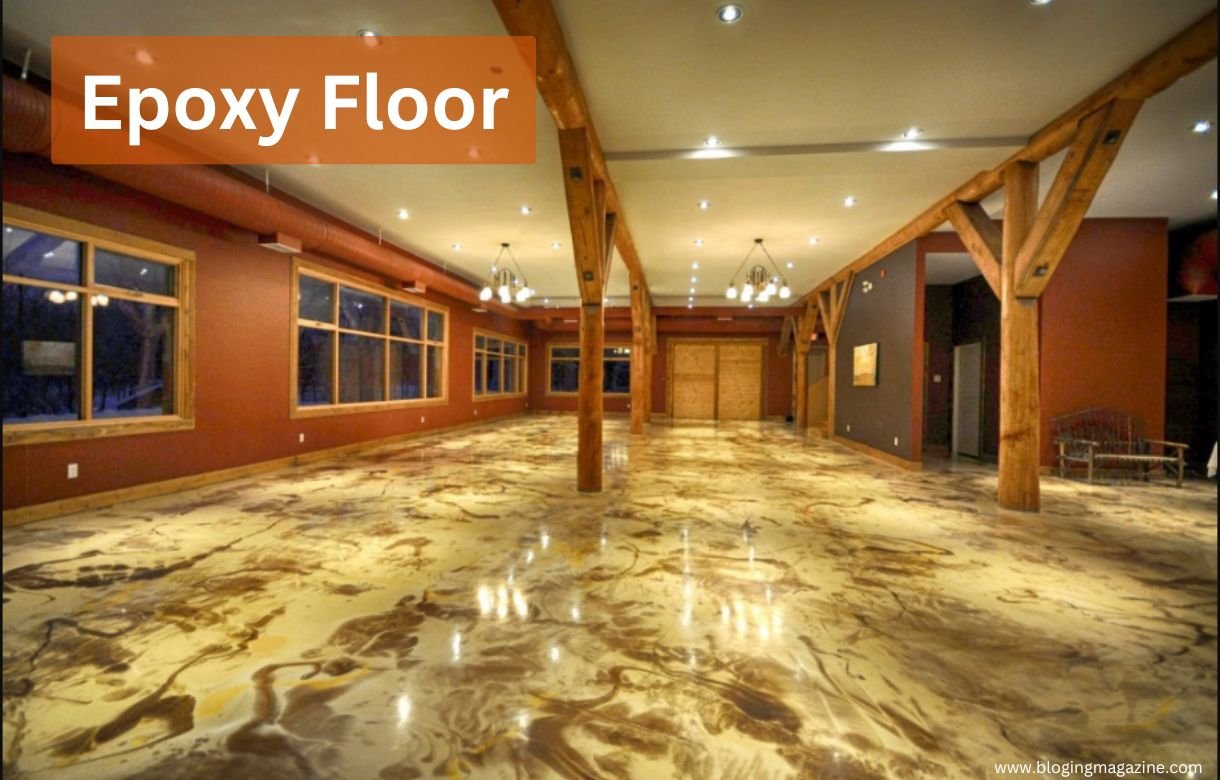
Epoxy floor is a durable and long-lasting option used in various spaces, including garages, warehouses, and residential areas. It is valued for its strength, easy maintenance, and ability to withstand wear and tear. Installing epoxy floors requires a step-by-step approach to ensure a smooth and reliable finish.
Here’s a simple guide to help you understand the epoxy floor installation process.
- Prepare the Surface
The first step in the installation of epoxy flooring is surface preparation. This step is essential because the epoxy must adhere to the floor without any obstruction.
Clean the Floor: Remove any dirt, grease, oil, or other contaminants. Use a degreaser if necessary.
Repair Cracks and Holes: Fill in any cracks, holes, or chips with a concrete repair product. Smooth out the surface to ensure its level.
Etch the Floor: Concrete floors must be etched to open the surface pores and allow the epoxy to bond. You can do this using an acid-based solution or a mechanical grinder. - Test for Moisture
Before applying epoxy, it’s essential to check for moisture in the concrete. Epoxy does not bond well to damp surfaces; any trapped moisture can cause bubbling or peeling over time.
Moisture Test: Tape a plastic sheet onto the floor and leave it for 24 hours. If moisture collects under the sheet, you’ll need to address the issue before proceeding, possibly by installing a moisture barrier. Spray foam can be a solution to remove moisture. - Prime the Floor
Priming helps the epoxy adhere better and ensures the floor will last longer. A primer also reduces the chances of bubbling and peeling.
Apply the Primer: Use a paint roller to apply the primer evenly across the floor. Allow it to dry for the recommended time stated by the manufacturer.
Allow Time to Dry: Depending on the conditions, this can take several hours. Make sure the primer is fully dry before moving to the next step. - Mix the Epoxy
Once the surface is ready and the primer has dried, it’s time to mix the epoxy. The epoxy flooring system typically comes in two parts: a resin and a hardener.
Mix in Correct Proportion: Follow the manufacturer’s instructions carefully. Improper mixing can result in an uneven or weak floor.
Use a Mixer: A power drill with a mixing paddle is helpful for thoroughly combining the components.

- Apply the First Coat of Epoxy
With the epoxy mixed, you can now begin the application process.
Use a Roller: Pour the epoxy onto the floor and spread it evenly using a paint roller. A paintbrush can help reach tight spots at corners or edges.
Work in Sections: Working in small sections is essential to ensure the epoxy doesn’t start to set before you’ve finished spreading it.
Let it Dry: Wait until the first coat is dry. The drying time can vary, but it typically takes 12 to 24 hours. - Apply the Second Coat
A second coat provides additional durability and enhances the appearance of the epoxy floor.
Apply in the Same Manner: As with the first coat, pour the epoxy and spread it using a roller, ensuring even coverage across the floor.
Optional Additives: This stage allows you to add non-slip additives if needed. These are especially helpful for areas that might get wet, such as garages or outdoor spaces.
Let it Dry: As before, give the second coat time to dry completely. This can take another 12 to 24 hours. - Allow Time to Cure
After applying the final coat, the floor must cure fully before it can be used.
Curing Time: Depending on the type of epoxy and environmental factors, curing can take three to seven days.
Avoid Foot Traffic: To ensure the surface sets appropriately, avoid walking on the floor during this time. - Inspect and Maintain
Once the floor has cured, inspect it to ensure the surface is smooth and there are no defects.
Check for Imperfections: Look for bubbles, rough spots, or peeling edges. These issues can be fixed by lightly sanding the area and applying another thin layer of epoxy.
Maintain the Floor: Regular sweeping and mopping will keep the floor in good condition. Please do not use harsh chemicals as they could damage the surface.
Conclusion
Installing epoxy flooring requires careful preparation and attention to detail. By following these steps, you can achieve a durable, smooth, and long-lasting finish. Whether installed in a commercial or residential setting, epoxy flooring provides a practical solution for high-traffic areas.


На данном сайте вы сможете найти последние новости Краснодара.
Здесь собраны главные новости города, репортажи и оперативная информация.
Следите за развития событий и читайте только проверенные данные.
Если хотите знать, что происходит в Краснодаре, читайте наш сайт регулярно!
https://rftimes.ru/
Недропользование — это направление деятельности, связанный с разработкой подземных богатств.
Оно включает поиск природных ресурсов и их дальнейшую переработку.
Эта отрасль регулируется законодательством, направленными на безопасность работ.
Эффективное управление в недропользовании помогает сохранять ресурсы.
оэрн
Умение стильно одеваться имеет большое значение в самовыражении.
Она помогает передать личный стиль и выглядеть гармонично.
Грамотно подобранный образ влияет на восприятие окружающих.
В повседневной жизни одежда может придавать уверенность.
https://telegra.ph/Burberry-12-25-5
Продуманный гардероб облегчает деловое общение.
При выборе одежды важно учитывать индивидуальные особенности и контекст.
Мода дают возможность обновлять образ.
В итоге, умение стильно одеваться положительно влияет на самоощущение.
Умение стильно одеваться имеет большое значение в самовыражении.
Она помогает передать личный стиль и выглядеть гармонично.
Аккуратный внешний вид создаёт впечатление окружающих.
В повседневной жизни одежда может придавать уверенность.
https://telegra.ph/Moncler-12-25
Хорошо подобранная одежда облегчает повседневное взаимодействие.
При выборе одежды важно учитывать личные предпочтения и контекст.
Современные тенденции дают возможность обновлять образ.
В целом, умение стильно одеваться делает образ завершённым.