
Search “best free AI image generators,” and you’ll get the same list on every site — Canva, Bing Image Creator, Ideogram, Leonardo, DALL-E, ranked by feature count and free-tier limits nobody actually tests. Screenshot, one-line verdict, next tool. Repeat ten times, call it a listicle.
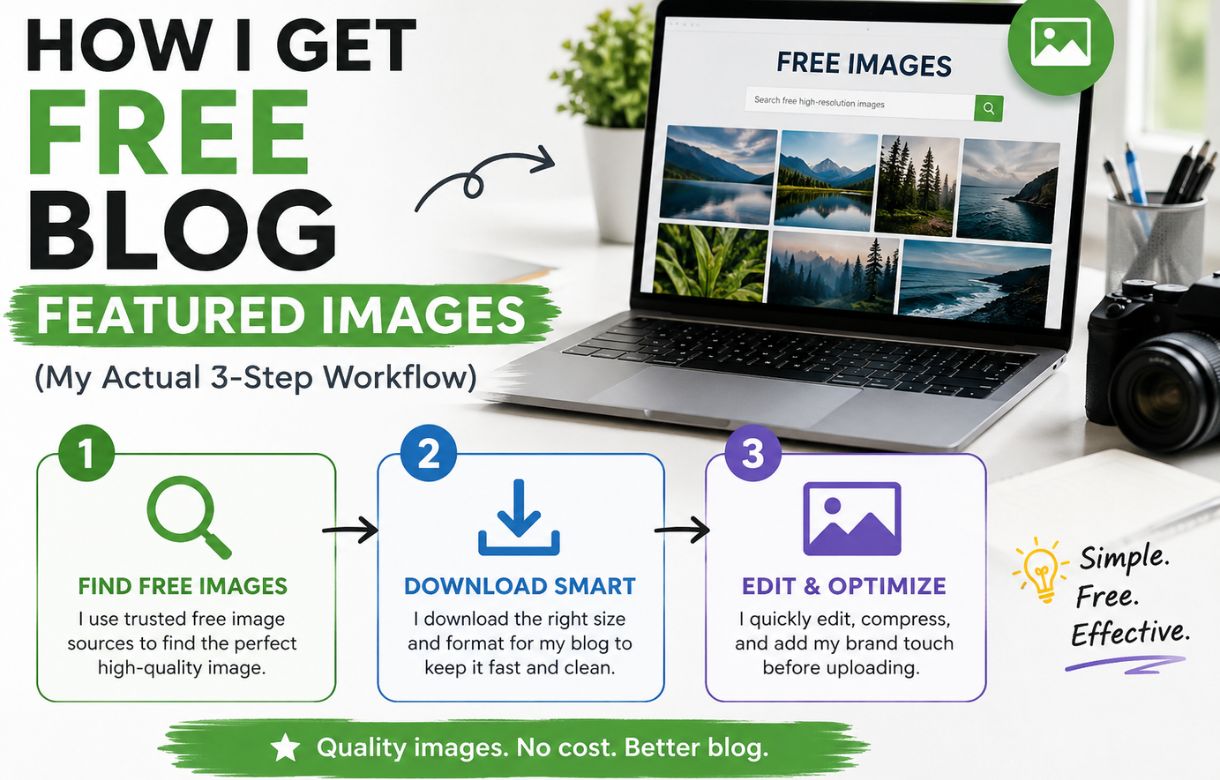
That’s not how I get featured images for this blog. I don’t pick one tool and stick with it. I run a three-step process — source, generate, customize — and which step I lean on depends entirely on what the post needs. Here’s what that actually looks like, including the one step almost nobody mentions that quietly matters more than which generator you pick.
This is part of the same discipline I laid out in on-page SEO for beginners — image handling isn’t a separate checklist item bolted on afterward; it’s part of the shape a post follows from the start.
Why “best free image generator” lists miss the point
Every one of those roundups treats image creation as a single decision: pick the right tool, get the right image. In practice, no single tool clears the whole job. A generator can produce a striking visual, but it won’t be sized for your theme, won’t have your text overlay, and — this is the part that never makes the listicles — it’ll usually be 2MB or more, which is exactly the kind of file that quietly tanks your Core Web Vitals if you upload it straight to WordPress.
So the real workflow isn’t “which generator,” it’s a sequence. I start by checking if a free stock photo already does the job. If not, I generate one from scratch. Either way, everything gets finished in Canva before it goes anywhere near a blog post.
Step 1: Unsplash, when the right stock shot already exists
For anything concrete — a laptop, a desk setup, a person typing, a stack of books — Unsplash usually already has it. These are genuinely free to use, including commercially, with no attribution legally required (though crediting the photographer is a nice practice when you remember to).
I check Unsplash first because generating an image from scratch takes more steps than searching one that already exists. If the post is about something visual and concrete, stock almost always wins on speed. Where it falls short is anything conceptual or abstract — “SEO strategy,” “content clusters,” “AI writing workflow” — the kind of topic that has no obvious photo to represent it. That’s when I move to the next step.
Step 2: ChatGPT, when nothing fits
For posts where no stock photo captures the idea, I generate the image with ChatGPT. This is where abstract or conceptual topics get solved — an illustration of a workflow, a stylized icon-style graphic, something that represents an idea rather than photographing a real object.
I’m not chasing photorealism here. What I want is something clean enough to use as a featured image without looking like a stock-photo cliché, and specific enough to the post’s topic that it doesn’t feel generic. It rarely comes out publish-ready on the first try — sizing, cropping, and text all still need to happen in Canva regardless of which path I took to get the base image.
ChatGPT shows up elsewhere in my workflow too, not just for images — I cover the rest of my free AI tools stack for keyword research, on-page hygiene, and writing separately.
Step 3: Canva — resize, add text, and the compression step everyone skips
This is where every image ends up, no matter where it started. Three things happen here:
Resizing. Whatever dimensions the source image came in, it gets cropped and resized to match my featured-image spec so every post looks consistent in the theme and in social previews.
Text overlay. If the image needs a title, label, or short callout baked into it, that gets added here — matched to the site’s visual style rather than whatever default font the generator used.
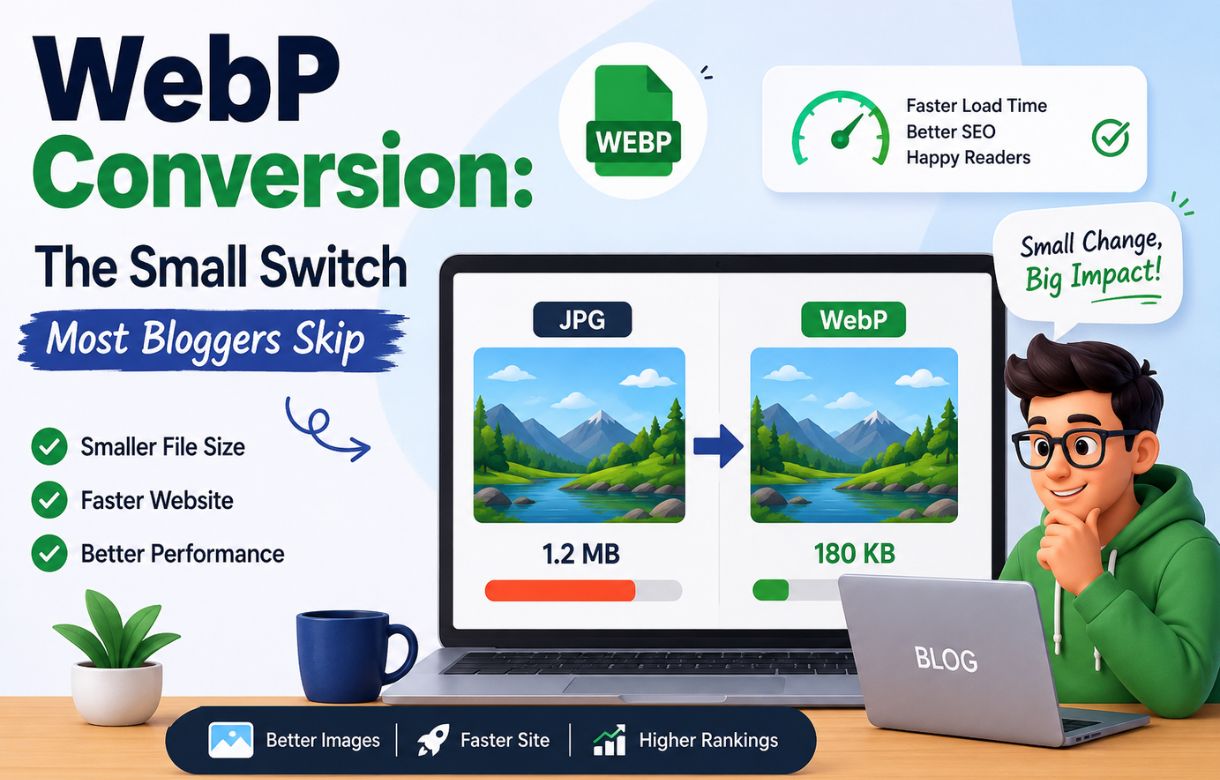
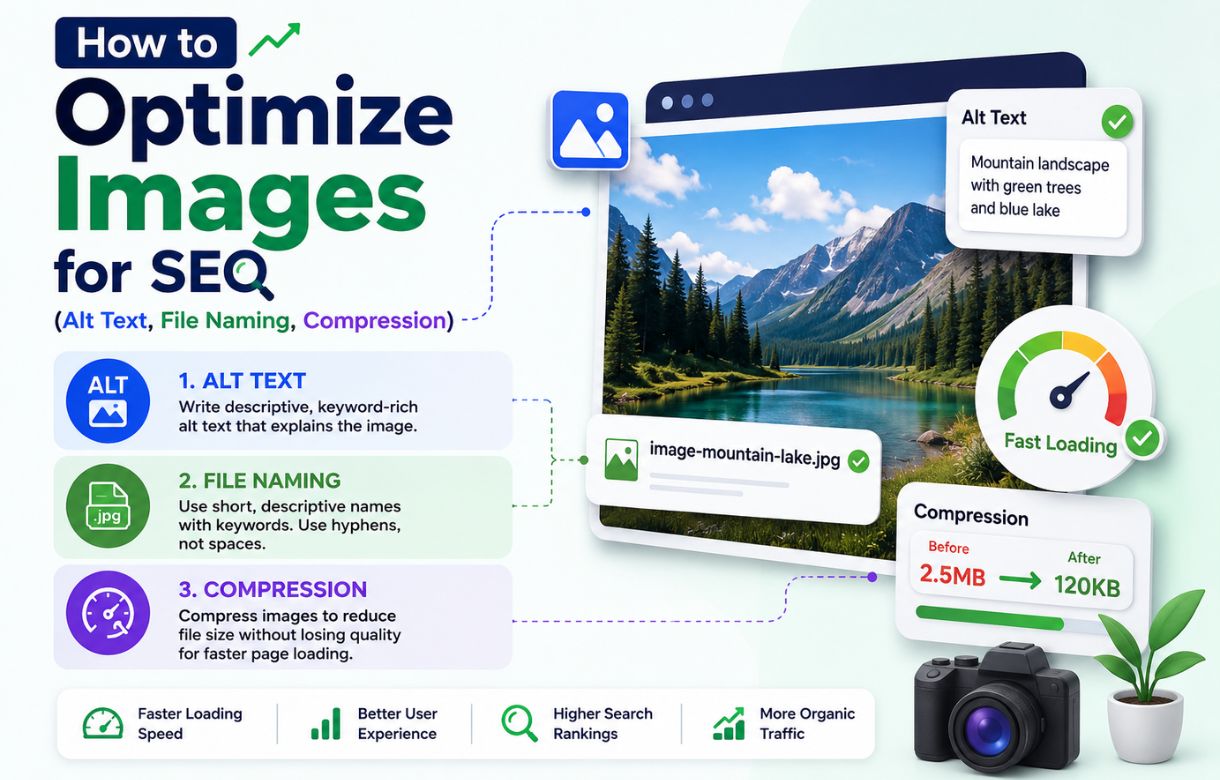
Compression. This is the step that actually matters most and gets mentioned least. A raw AI-generated or stock image is often 2MB or larger. Canva’s export settings bring that down to somewhere around 150–200KB — a roughly 90% reduction — with no visible quality loss at the sizes WordPress actually displays. Exporting in a next-gen format like WebP instead of JPG or PNG can shrink that further still, which is worth its own dedicated look.
Does image file size actually matter for SEO?
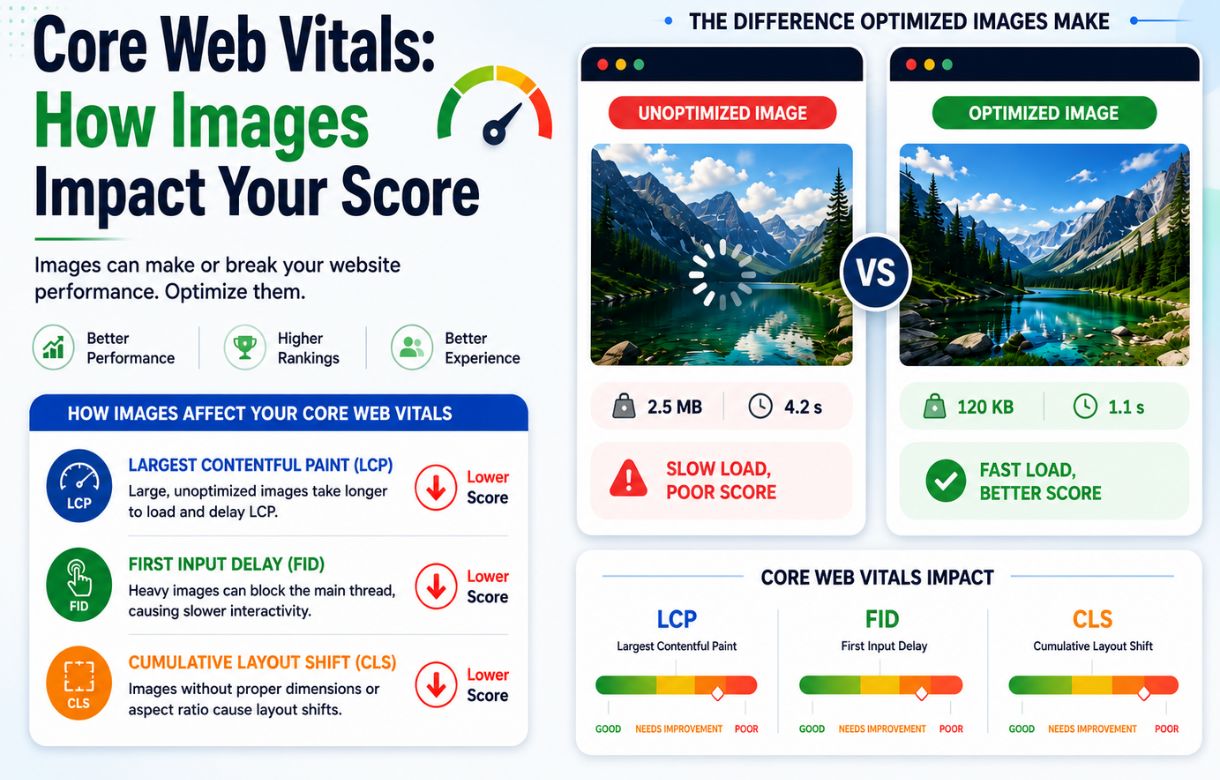
Yes, and not in a vague “it’s good practice” way. Image weight is one of the biggest levers on page load speed, which directly feeds into Core Web Vitals — specifically Largest Contentful Paint, since a featured image is very often the largest element on the page. A 2MB image sitting at the top of a post can noticeably slow that metric down; the same image at 150–200KB barely registers. Google has been explicit for years that Core Web Vitals factor into ranking, so this isn’t a nice-to-have — it’s one of the few on-page technical levers a solo blogger can pull without touching code.
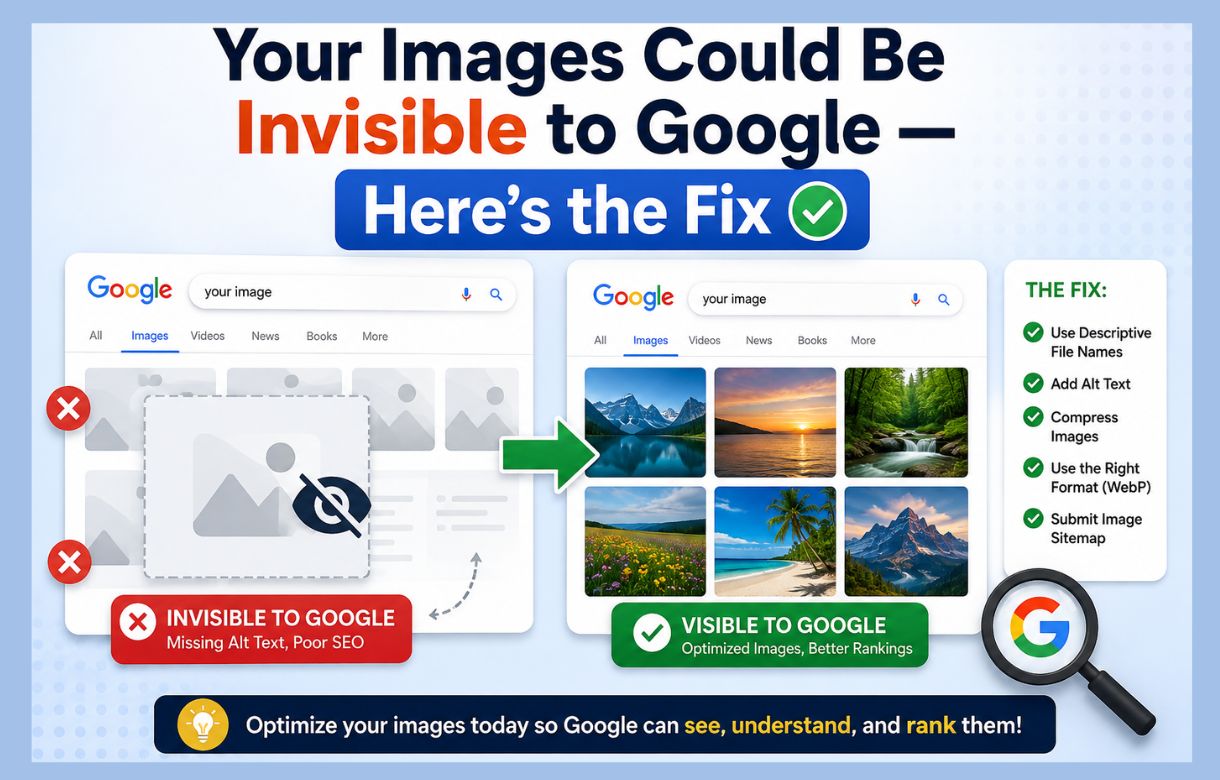
File size is only one piece of it, though. Alt text, file naming, and dimensions are their own checklist — I go into that separately in SEO image optimization. And if you want your images to actually surface in Google Image search, that’s a matter of image sitemaps registering them properly, which is worth understanding even if you never touch one directly.
Where Yandex fits — reference, not a source
I use Yandex Images sometimes, but not the way people assume. I don’t pull images from it and publish them. Yandex is a search engine indexing images from across the web — almost everything that turns up belongs to whoever originally published it, and using those images directly is a real copyright risk, not a technicality.
What I actually use it for is browsing styling ideas — how other designers handle text placement, color treatments, or layout effects — before I customize my own image in Canva. It’s a mood board, not a supply source. If you’re tempted to right-click and save something from a Yandex or Google Images result for your own blog, don’t; find the original source and check its license, or generate/source your own instead.
Key Facts: My Free Blog Image Workflow
- Step 1 — Unsplash: free stock photos for concrete, literal subjects. No cost, commercial use allowed.
- Step 2 — ChatGPT: generates images for abstract or conceptual topics with no obvious stock photo.
- Step 3 — Canva: resizes, adds text, and compresses every image before publishing — typically cutting file size from ~2MB down to 150–200KB.
- Yandex Images: used for visual reference and styling ideas only — never as an image source, due to copyright risk.
- Why it matters: image weight is a direct Core Web Vitals lever (Largest Contentful Paint), and compression is the step most “free tool” roundups skip entirely.
FAQ
Can I use ChatGPT-generated images commercially on my blog?
Generally, yes — OpenAI’s terms grant users rights to images they generate, including commercial use, though it’s worth checking OpenAI’s current usage policies directly, since the terms can be updated. I still run every generated image through Canva before publishing, both to ensure it’s sized correctly and to make sure nothing in the image resembles existing copyrighted characters or trademarks the generator might have picked up from its training data.
Do I need to credit Unsplash photographers?
Legally, no — Unsplash’s license doesn’t require attribution. It’s still a courteous practice to credit the photographer in your image caption or alt text when you remember, especially if you’re using their work regularly.
Does image compression actually affect Core Web Vitals?
Does image compression actually affect Core Web Vitals?
Yes, directly. Largest Contentful Paint measures how long it takes the biggest visible element on the page to load, and a featured image is frequently that element. Cutting a 2MB image down to 150–200KB can meaningfully improve that score without any other technical change to the page.
Is it safe to use images from Yandex or Google Images search results?
No — treat search-result images as copyrighted unless you click through and confirm the original source explicitly licenses them for reuse. Use image search engines for inspiration and reference, not as a place to source and republish images directly.
Spot on with this write-up, I truly think this site needs a great deal
more attention. I’ll probably be returning to read through more,
thanks for the info!